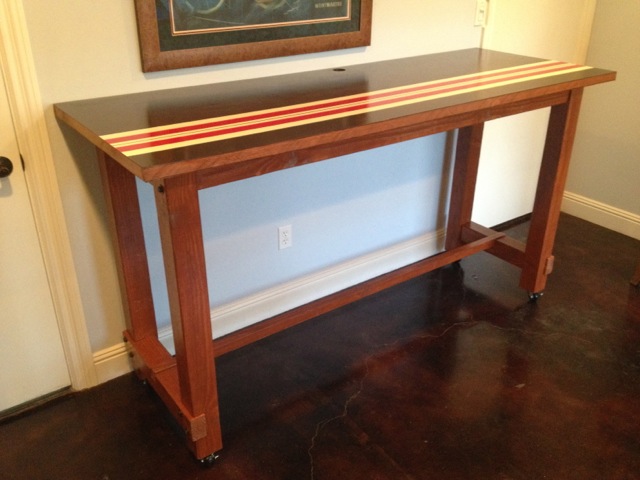
The end result turned out pretty well. The desk is serving its function well and I've received lots of compliments on it. Getting it built was a real bear and I learned several lessons along the way. In no particular order:
- A 7" circular saw is a very versatile tool but has its limits. Cutting through 4x4s requires a pass on either side and no matter how careful you are they will be slightly off. I tried leveling the cut ends with a belt sander, some files and 'touch ups' with the circular saw. That all helped a little but in the end the weight of the door is what keeps the whole thing level. Next time, I'll find access to a table saw or use two 2x4s attached to one another as an L.
- Dimensional lumber is never perfectly straight. Sometimes that's not a big problem but a small warp or curve is magnified when making something six feet long. This problem is compounded when working with tools like the circular saw. Guides and fences can help but have their limitations. 'Stationary' tools like a table saw are better; correcting your stock with a jointer and planer is best.
- Water based stain is great for clean up but produces a much 'flatter' look that you'll get with oil based stain.
- Priming is not a step worth skipping. I originally planned to strip the paint off the old door and stain it. The chemical stripper took the top coat of paint off easily but barely touched the primer underneath. I could have belt sanded the primer off but figured it would be easier to just repaint. Fine idea but I should have put fresh primer down first. I used latex paint and it didn't have the best grip with the old primer. That made for a lot of extra touch-up work.
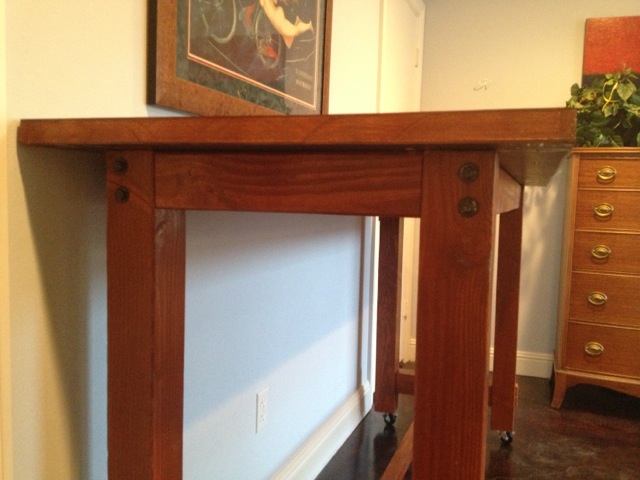
- A dry fit will help you catch big/obvious problems but be prepared for some additional changes when you do set the screws and bolts. Remember the aforementioned issues with dimensional lumber and imprecise cutting tools? They all add up and when things are pulled into final shape some dimensions will change. In my case the footrest was measured to overhang the cross pieces by 1/4". After tightening the bolts my overhang disappeared. In hindsight, I should have cut it a little longer and planned to trim it to final size after assembly.
- I had a weird issue with the brown paint. Each time I touched-up a spot, it dried a slightly different shade. The best solution I found was to 'blend' it by sanding it and the surrounding area with 220 grit sandpaper. When the sanded area was covered with Varathane it matched its surroundings well enough to be unnoticeable.
Here's some more pics of the finished product:


No comments:
Post a Comment