A DIY blog for the rest of us. So you saw a neat photo on Pinterest or were inspired by a show on HGTV. Can you really do it yourself? Maybe, but it's going to be tougher than it looks. This blog is a journal of my DIY projects: the good, the bad and the ugly. Hopefully you can avoid some of my mistakes and frustration.

Monday, July 15, 2013

Flower Power


The previous owner left a concrete base in our backyard. It's hollow in the middle but I figured it would make a decent side table if a top was added. I planned on cutting and staining a simple disk but then got inspired to try something more ornate. I used different colors of outdoor stain and then put a couple layers of weather sealant on to protect the unstained areas.

A good learning experience

The cladding project I began several weeks ago is finally finished. Most of the cladding was glued on with construction adhesive, brads were added to several of the side pieces and screws were countersunk into the front pieces. Some of this proved tricky as the 'carcass' I was cladding was made of old fiberboard. It was dried out, which didn't leave much grip for nails or screws, and had water damage in a few areas (leaving uneven surfaces). I came up with a bunch of creative workarounds and am glad this one is finished.


Liftoff!

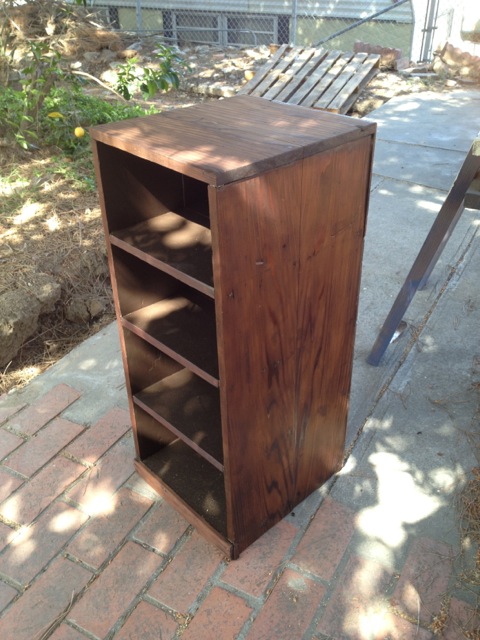
I really should have followed my intuition and stopped and shifted gears with this project when the brown paint proved difficult to strip. I got a layer of stain on, only to be disappointed with the results. The wood didn't turn out to be very interesting (in terms of grain patterns) and proved difficult to work with. The result was a blotchy mess:


I thought about doing the antique patina look I previously considered but then decided to try something more whimsical. The dimensions of this shelf reminded me of something I saw over on Ana White's site and I decided to give that a try.


With the shelf unit already built, I used some plywood scraps to make the rocket fins and nosecone. The latter was made from 3-ply material and getting  good 45 degree edges was a little tricky. I thought it would be simpler to build it with flush edges but in hindsight something with overhang as shown in the plans is probably the way to go.